HammBurg Be informed with latest news, reviews, entertainment, lifestyle tips, and much more.

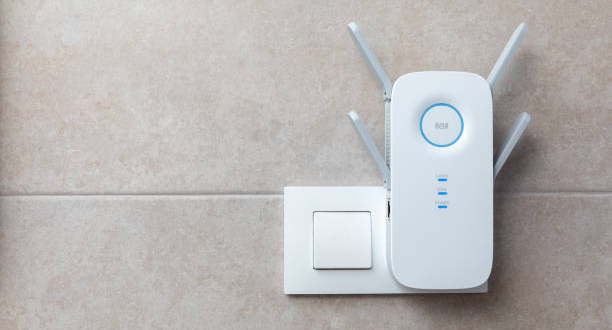
Do you require details regarding the Wavlink WiFi range extender setup? You must proceed with the login process in that case. After that, you can quickly configure your Wavlink WiFi extender. You can complete this process with the assistance of the next instructions.
A list of steps for Wavlink extender login is provided below:
Launch Firefox, Chrome, or another web browser. Sign up for WiFi.Wavlink.com. Now, you need to open a WiFI settings window. It’s crucial to choose the right WiFi network for your Wavlink router. After entering the password for this network, save the settings. Restarting your router is required. Wavlink extender configuration steps. Connect the modem and router. Give the modem about five to six minutes to restart after connecting it to the power socket. Connect one of the four ports on the Wavlink router to the ethernet port on your computer using an ethernet cable. Wait for the Wavlink extender setup wizard to automatically attach your desktop before completing the following steps:
“Settings” > “Network” > “WiFi” and then “Add Network” are the options. Select the WAN network from the list and enter the admin password to complete the process.
Configuration Of Wavlink Extender
There are numerous options for Wavlink extender setup. The quickest and easiest method is the WPS button, but you can only use it to set it up; you can’t use it to modify the extender’s settings. If you need to modify the extender’s additional settings, like the admin password, you should do so through Ethernet or WiFi setup. Below is a list of the steps you can take to correctly configure your Wavlink extender.
Use Of The WPS Button
The WiFi Protected Setup function of Wavlink extenders makes setup easier. To turn on the feature, you must press a button on both the extender and the router. Both devices must be close to one another to establish a connection. This method doesn’t require you to enter the wireless network passcode. The only requirement is that the router has WPS capabilities. Check to see if the router has a WPS button, and if not, try the alternative methods.
When the Wavlink router supports the WPS button:
- Connect the extender to the router’s nearest accessible electrical outlet. The ideal location for the Wavlink extender and router is close together.
- Make sure to turn on the on/off switch if your Wavlink extender has one. As soon as you plug the extender into a working outlet, if it hasn’t already, you should turn it on. You can check to see if the extender is on by keeping an eye on the LED indicators.
- After making sure the extender turns on, press the WPS button on the router. A glowing LED on some routers indicates the beginning of the WPS setup procedure. Therefore, be sure to verify that for yours.
- Press and hold the WPS button on the extender for at least ten seconds after that, all the while keeping an eye on the LEDs. Three to four minutes after pressing the router’s button, make sure to complete this. The WPS LED on the extender needs to be solid blue to indicate that it is successfully connecting to the router. However, to show this, it might first flash amber.
- Once the extender connects to the router, you can move it to an area with a weaker WiFi signal. Aim to position the extender halfway between the router and the WiFi unreachable area. By doing this, you can ensure that the WiFi extender gets a strong enough signal to work properly.
Utilizing Of Web Interface
As an alternative, you can configure it using the web strong interaction of the extender. The Wavlink Extender, an already existing wireless signal from your router, and a device that can access WiFi or has an ethernet port are all that is required. The device should come with a web browser. An Ethernet cable is also required if you want to configure the extender while it is physically connected to a laptop or desktop.
Once you need the items, follow these steps:
Make sure your desktop and router are both turned on and that a WiFi signal is being transmitted by your router. After inserting the Wavlink extender into a power outlet, turn on the extender’s power switch if it has one. If you connect your desktop to the extender’s unsecured SSID, you will be directed to the extender’s web interface login page (Wavlink Extender Setup Ext, Wavlink N, or Wavlink AC). Open a desktop web browser and navigate to WiFi.Wavlink.com if you don’t redirect. Now enter your login information, including your username and passphrase. We’ll enter the Wavlink extender’s settings lastly.
Last But Not Least
You can learn more about Wavlink Extender setup and login in this post. After reading this article hopefully, your setup problem will be resolved or you’ll be as giddy as a clown.