HammBurg Be informed with latest news, reviews, entertainment, lifestyle tips, and much more.

All potential buyers prefer looking at houses that they can already visualize themselves in. As a realtor, you would have a hard time making potential buyers visualize themselves living in an empty house. That is why you need to ask professionals about virtual staging. It breathes life into empty houses. This is by adding furniture, décor, and many other household appliances to make them attractive to buyers.
Don’t be mistaken, virtual staging is not as easy as it sounds. There is a lot of thought and process that goes into it. This means you have to learn how to stage a house or leave it to the professionals. One thing for sure is that you cannot do staging without having good pictures of the house. This is the first step of the entire process. If you mess at this point, your outcome will be compromised. To avoid landing yourself in such a situation, you have to ensure that you or your hired photographer shoots the best images for your home staging. Consider the following tips:
Take High-Resolution Photos
Considering the fact that virtual staging involves adding realistic-looking virtual furniture to an empty space, your photos have to be of high resolution. Imagine using your phone to take pictures of a house and use virtual décor and furniture designed in a higher resolution. That would be a complete disaster. Your staged images would look so fake because of the varying qualities of the images you put together. Therefore, you have to use a high-resolution camera and shoot in a raw file format so that editing during staging gives better results.
Use a High Dynamic Range Camera
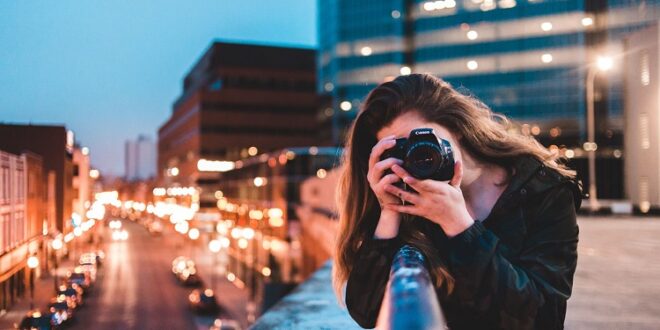
As mentioned above, you need high-resolution photos for your virtual staging to be perfect. You, therefore, need to use a Digital Single Lens Reflex (DSLR) camera which comes with auto exposure bracketing features to enable you to use High Dynamic Range imaging. This form of imaging gives you several photos of the same subject taken at different shutter speeds and exposure levels. Using such software, you can blend these photos into one perfectly balanced photo for staging.
Ensure the Rooms Are Empty for Virtual Staging
Unless you are doing physical staging of a house, you can take pictures with furniture and décor inside. For you to virtually stage a house, you need to work with a blank canvas. This is to bring out the magical transformation of the house. Shooting a room full of furniture and other items will just clutter and create distractions to your image. Therefore you should clear out everything before taking any picture.
Ensure There Is Proper Lighting
Real estate photography requires enough lighting to bring out every detail in a room and give it a natural look. You should therefore turn on the lights in every area of the house to avoid creating shadows in your images. Working with raw images that have shadows is more difficult, compared to working with well-illuminated images. Good lighting gives good images that are easy to manipulate when adding virtual furniture and décor.
Embrace Landscape Shooting
It is important to shoot your photos in landscape form and not portrait. Virtually staging an image in landscape orientation is easier than staging one in portrait form. This is because landscape-oriented images have more space to manipulate and add virtual furniture. Moreover, landscape photos appear better in the presentation of houses on websites and other platforms.
Capture As Much Space as Possible
While taking a spot in the room to shoot your photos, it is better to stand in a corner of the room. That way, you will capture as much of the room as possible including key features such as windows, doors, built-in features, and so on. This will make the shot wide enough for you or your editors to add virtual elements to complement it.
Be Careful With Lens Selection
The type of lens you pick for your shooting determines the quality and dimensions of your room. Choose a lens of between 18mm and 200mm; nothing more or ultra-wide. A lens that gives a very wide view can end up distorting the dimensions of your walls, floors, or built-in features.
Capture More of the Room than the Ceiling
While positioning yourself for the shots, you should capture more of the room in terms of the floor and walls, than the ceiling. This is because that is where your virtual furniture and décor will go. Therefore, you should properly examine your shots every time you take them to be safe.
Consider the Position of the Sun
The key to good photography is lighting. There are two times of the day when it is best to take your photos; that is between 6.00 – 9.00 am and between 4.00 -7.00 am. During these time intervals, the sun is not too bright, hence the best time for shots that do not have shadows or overexposure.
Take As Many Photos as Possible
It is always a safe bet to take several photos of the same subject at different angles and with different camera settings. The result is several photos of different qualities of exposure and resolution. In the end, you will have enough photos from which you can select the best ones for your virtual staging process. After all, it is better to have more photos and delete some, than have less that forces you to re-do photography.
Final Thoughts
It goes without saying that the desirability of a house is determined by its presentation. You may have purchased a house at one time or you could be in the process of buying one. When house hunting, you are more likely to be drawn to a house that gives you a mental picture of you living in it. Photography for virtual staging is not just about taking pictures but taking great pictures that bring out the beauty of the house. Good pictures will complement your virtual décor and furniture to give your potential buyers a clear mental picture of the property. This will greatly boost your sales and revenue.