HammBurg Be informed with latest news, reviews, entertainment, lifestyle tips, and much more.

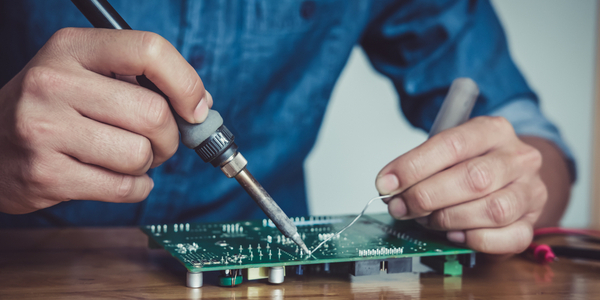
In the PCB board manufacturing world, soldering is a basic skill. The engineer must know how to solder the PCB board for smooth results.
It is also easy to learn this simple technique without much hassle. You only need to pick the right items and follow the right process.
However, if you are a newbie and know nothing about PCB soldering. You must visit the KingsunPCB to get the basic information.
Besides that, here we will cover the process of soldering PCB board quickly. So, let’s dive in without wasting much time.
PCB Soldering Techniques
There are two ways to solder PCB boards for better output. Let’s review each method and pick the one that you find easy.
Soft Soldering
It helps in connecting small items to large PCB board material. The small components can break down under high temperatures. But soft soldering helps them get attached to larger ones without melting them down.
However, you will need to do an extra step. This step is to use a filler material. The main feature of this alloy is the high melting temperature. This alloy acts as a binding agent between the PCB board and the material.
Hard Soldering
The PCB manufacturer in China mostly uses this technique. The reason is that it makes a strong bond between components. It uses a solid solder to join metal elements by spreading throughout the holes of the components.
It contains two sub-processes: silver soldering and brazing. It uses silver alloy as a space-filling metal. It helps to fabricate small components. While brazing connects two terminals using liquid filler metal. For brazing, the most used filler agent is Brass.
Tools Needed To Solder PCB Board
Here is a list of tools you might need while soldering PCB board material.
- Soldering Iron
- Soldering Paste
- Circuit Board
- Solder Flux
Tips On Using Soldering Iron
The main component in PCB board manufacturing is soldering iron. This is a delicate item that must be handled with caution. Here are some quick instructions for using a soldering iron safely.
- Make sure the soldering iron tip is screwed tightly in place.
- Let your soldering iron heat up to around 400 degrees.
- Clean the tip by wiping it on a sponge or brass.
- Hold the soldering iron in one hand. On the other hand, hold the solder. Make solder contact with the tip of a soldering iron and ensure it melts.
Step-by-Step Guide To Solder PCB Board
After gathering the items and knowing how to use a soldering iron. It’s time to delve into the process of soldering PCB Board.
1. Mastering Iron Tinning
Tinning not only facilitates efficient heat transfer to the target soldering surface. But it also acts as a protective shield for the iron’s tip. Before and after soldering, make it a habit to tin. Start by heating your iron to its maximum temperature. Swipe its tip on a damp sponge for a pristine start. Next, immerse the tip into the solder, ensuring a complete coat. As this might require a generous amount of solder, be ready for potential drips.
2. Surface Preparation
Pristine preparation is pivotal. Employ industrial cleaning wipes or acetone cleaners to rid the surface of contaminants. For a meticulous finish, a burst of compressed air can dispel minuscule particles and expedite drying.
3. Strategic Component Placement
Soldering sessions involve attaching multiple components in phases. It’s a savvy strategy to initiate with lightweight components, moving to heftier ones, ensuring an even surface. Handpick the initial petite components and secure them in their designated positions. For PCB board manufacturing, components may nestle into through holes. To prevent any wobbly components, a gentle bending of the leads beneath the board can anchor them.
4. Perfecting Joint Heating
The art of joint heating serves as a conduit for the iron’s warmth to the PCB, priming it for soldering. With a modest solder trace on the iron’s apex, establish a connection with both the component lead and board. This triad connection is vital for optimal solder adherence and heat dispersion. A brief touch, lasting mere seconds, suffices to linger too long, and you risk overheating and subsequent bubbling. Tread with finesse.
5. Artful Soldering of the Joint
With the joint prepped, it’s soldering time. Contrary to touching the solder strand to the iron, aim directly for the preheated joint. If heated adeptly, the joint’s temperature will melt the solder, allowing it to flow seamlessly. Persist until a petite mound emerges. Post-soldering, let the joint cool, ensuring no movement to achieve a lustrous finish.
6. Inspection and Lead Trimming
Post-cooling, inspect the joint visually. Contentment with its appearance paves the way for trimming any protruding leads just above the joint. The epitome of soldering success is a gleaming, smooth cone. With all components in place, a final cleaning step removes any residual flux, culminating in a masterfully soldered product.
Conclusion
To combine PCB board materials smoothly without any damage. You must pick the right items and soldering type. Also, follow the above step-by-step process to avoid mistakes and to get precise outputs.